January
Technique of the Month
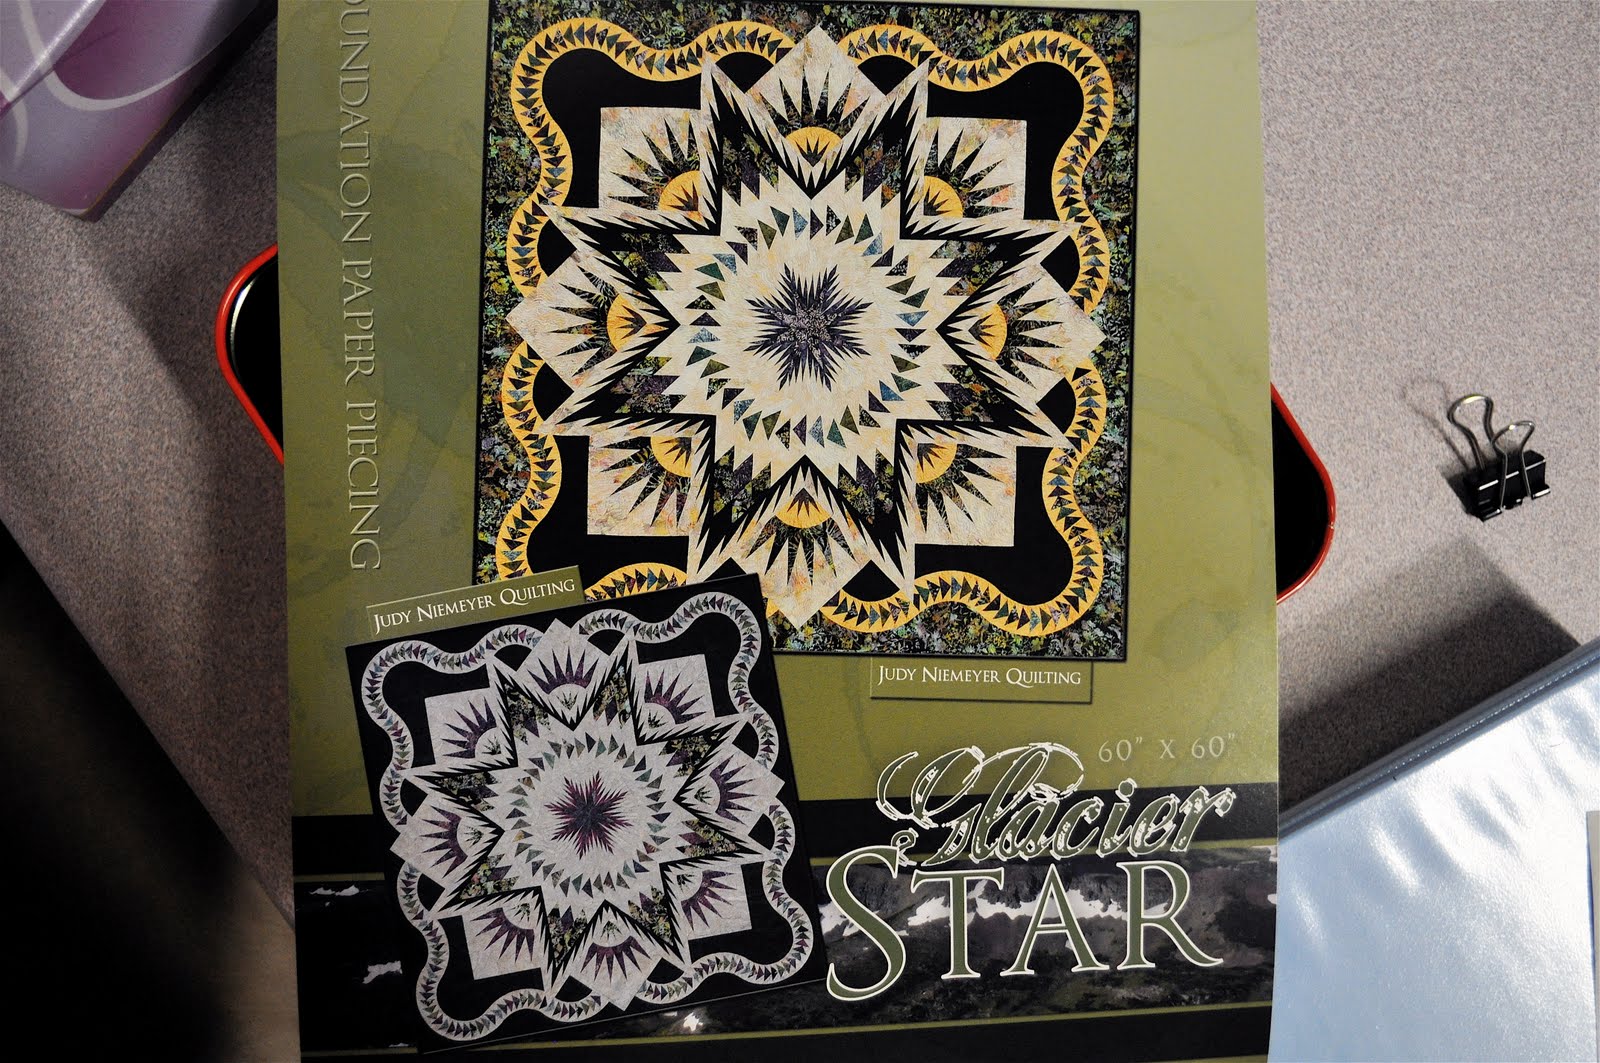
Glacier Star
"We're very pleased to offer the Judy Niemeyer Technique of the Month program. This is available through Certified Shops only. If you missed out on January's Technique of the Month lecture, or if you need a review, here is what was covered in class ...
Click on the Images to Enlarge:

Glacier Star Quilt
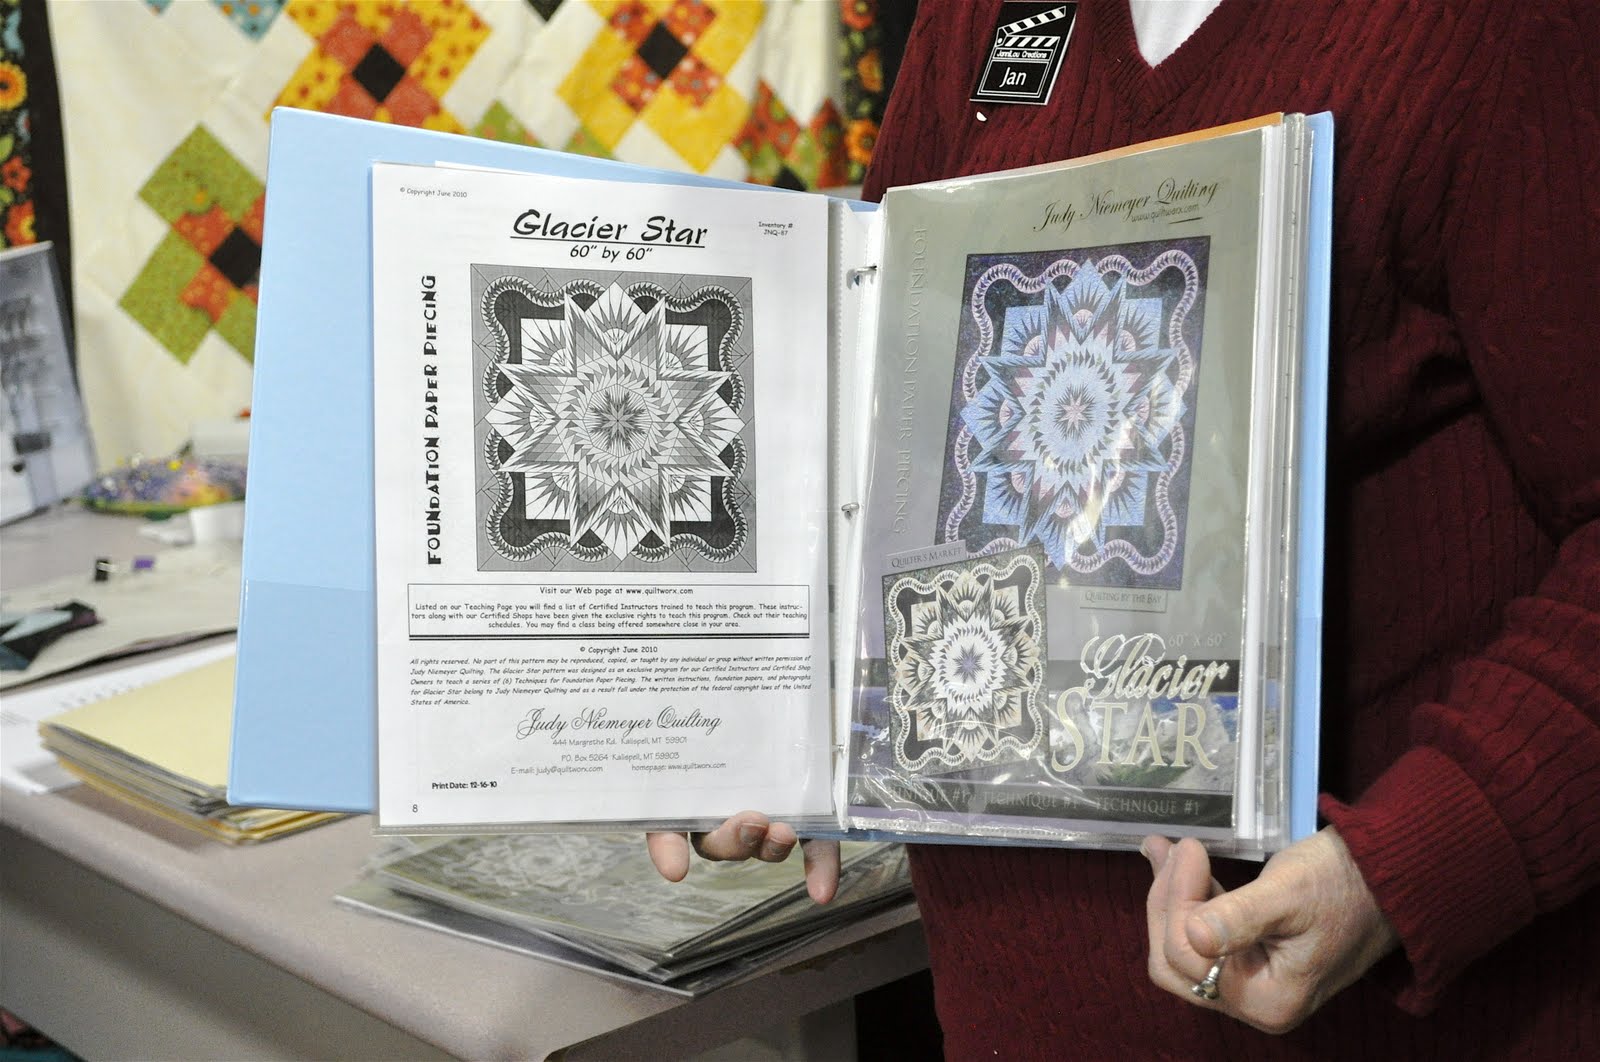
3 Ring Binder
Keeps all of your Papers organized

Choose your Fabrics
Glue your fabric swatches to your Color Design Sheet
Tools of the Trade:

Rotary Cutter
Add-A-Quarter Rulers
Glue Stick
Flat Head Pins
Binder Clips

Unit E & Unit S
We will be piecing these 2 units today

Unit E & Unit S
Create this New York Beauty Block

Begin with Unit E

Use a Bookmark to pre-fold all of the sewing Lines on
Unit E Papers

Place the Bookmark on the Sewing Line.
Then fold the paper over the top and crease it.
Do this on all of the sewing Lines on the papers.

This is what Unit E will look like when all of the lines are creased

This is the back side of Unit E

You can color in the spike shapes on the back side.
This will give you a visual of what your block will look like once the fabrics have been pieced to it.

Template Cutting Paper for Unit E
Great News...
No more individual templates to make and cut around.
Just follow the lines on this Template Paper for all of your cutting.

Place your background fabric under the Template Paper.
You can use a glue stick to hold the paper in place.

Cut on the cutting lines of the Template Sheet

All of your background pieces are cut out.
Yes, this is speedy.
Now you can cut out your Spikey fabric:

Again, you will be using a Template Sheet to cut out the Spikes

Cut out all of the spike shapes according to your Template Sheet
All of your cutting for this Unit E is Done:

Clips hold all of your cut pieces together:

We are ready to begin layering the fabrics and paper pieces:

You will use the large Unit E Papers & The Background Fabrics

Fold over Line 1
Add a bit of glue to the back side to hold the first fabric in place.

Place the glue side down onto the back side of the Background fabric.
(the pretty side of the fabric is facing away from you)

Place it 1/4 inch away from the edge of the fabric.
(the glue will hold the background fabric to the paper)

Place this on top of your Spike fabric.
(your spike fabric will be pretty side toward you)

You now have 3 layers lined up together ready to sew

Repeat this for all 8 of your Unit E papers.
(before you sew anything)
This assembly line method is more efficient than sewing them one at a time.

We will be piecing this long spikey unit...
Pick up your first unit with the 2 fabrics underneath and take it to the sewing machine:

Begin by stitching on Line 1
Hint: Use a smaller stitch length than normal

Continue to stitch all the way off the paper...

Chain Piece the other 7 units that you prepared earlier
sew all of them on Line 1 only

Finger press your first seam open.
You are now ready to sew your next seam on each unit:

Place your bookmark on line 2...
Fold the paper over the top to expose the extra seam allowance:

You are ready to trim...

Line up your Add-A-Quarter Ruler
Trim the seam to 1/4 inch

You are now ready to add a background fabric under this seam allowance
Continue to paper piece the rest of the unit as descried above:

You should have 8 completed Units that look like this
(but in your own fabric colors)
We are now Ready to sew the S Units:

Unit S
Red Spikes in bottom portion of block

Unit S
Template Cutting Sheet for Unit S
You will cut and piece Unit S just as you did for Unit E
Make 8 of Unit S
Now to piece Unit E & Unit S Together.
By doing so, you will create a New York Beauty Block

For the sake of the Curved Piecing Demo
Pretend this are Unit E & Unit S

Remove the papers from Unit E
Along the concave seam allowance.

Match up the corners on Unit E & Unit S
You can see that Unit S is hanging down underneath at an angle.
This is how it should look when you are pinning them in place:

Use in pin to weave in and out to hold the corners firmly together.

Now pin the opposite side of the seam, all corners together
Only 2 pins are needed for this seam.
Head for the sewing Machine:

Unit S will lay down flat against the sewing machine bed.
You will accordian fold Unit E between your fingers.
This will distribute the fabric and help line up the curved edges.

Using your 1/4 inch Foot
Slowly stitch and line up the edges as you piece the curve.

Take your time...
It will line up perfectly.
CLICK HERE to view Curved Piecing Tip

Back Side of the Curved Piece
(You can see that we left some paper on Unit E, which you will need later on)
Pretend this is your New York Beauty Block:

Curved Piecing.....lays nice and flat.
CLICK HERE to view Unit E Trimming Demo
Paper Piecing Tip Sheet:

See you February 26th for Part 2
Technique of the Month
Glacier Star
CLICK HERE to view Part 2
CLICK HERE: Step by Step Foundation Paper Piecing
This Tutorial Courtesy of:
JanniLou Creations Quilt Shop
Philomath, Oregon
Congratulations Jan & Lou on your NEW Blog !
ReplyDeleteYour Friend in Quilting,
LuAnn Kessi
http://luannkessi.blogspot.com/