May
Technique of the Month
Glacier Star
"We're pleased to offer the Judy Niemeyer Technique of the
month program. This is available through Certified Shops only. If
you missed out on May's Technique of the Month lecture, or if
you need a review, here is what was covered in class..."
Click Images to Enlarge:

Glacier Star Pattern
Technique 5

We will be creating these long sharp points
that surround the lone star unit


Read through these excellent instructions
before you begin.

Page 2
Follow the instructions on the top left of the page.
Cut your fabric 27.5 inches as instructed.

There are 2 pages of pattern papers
included this month
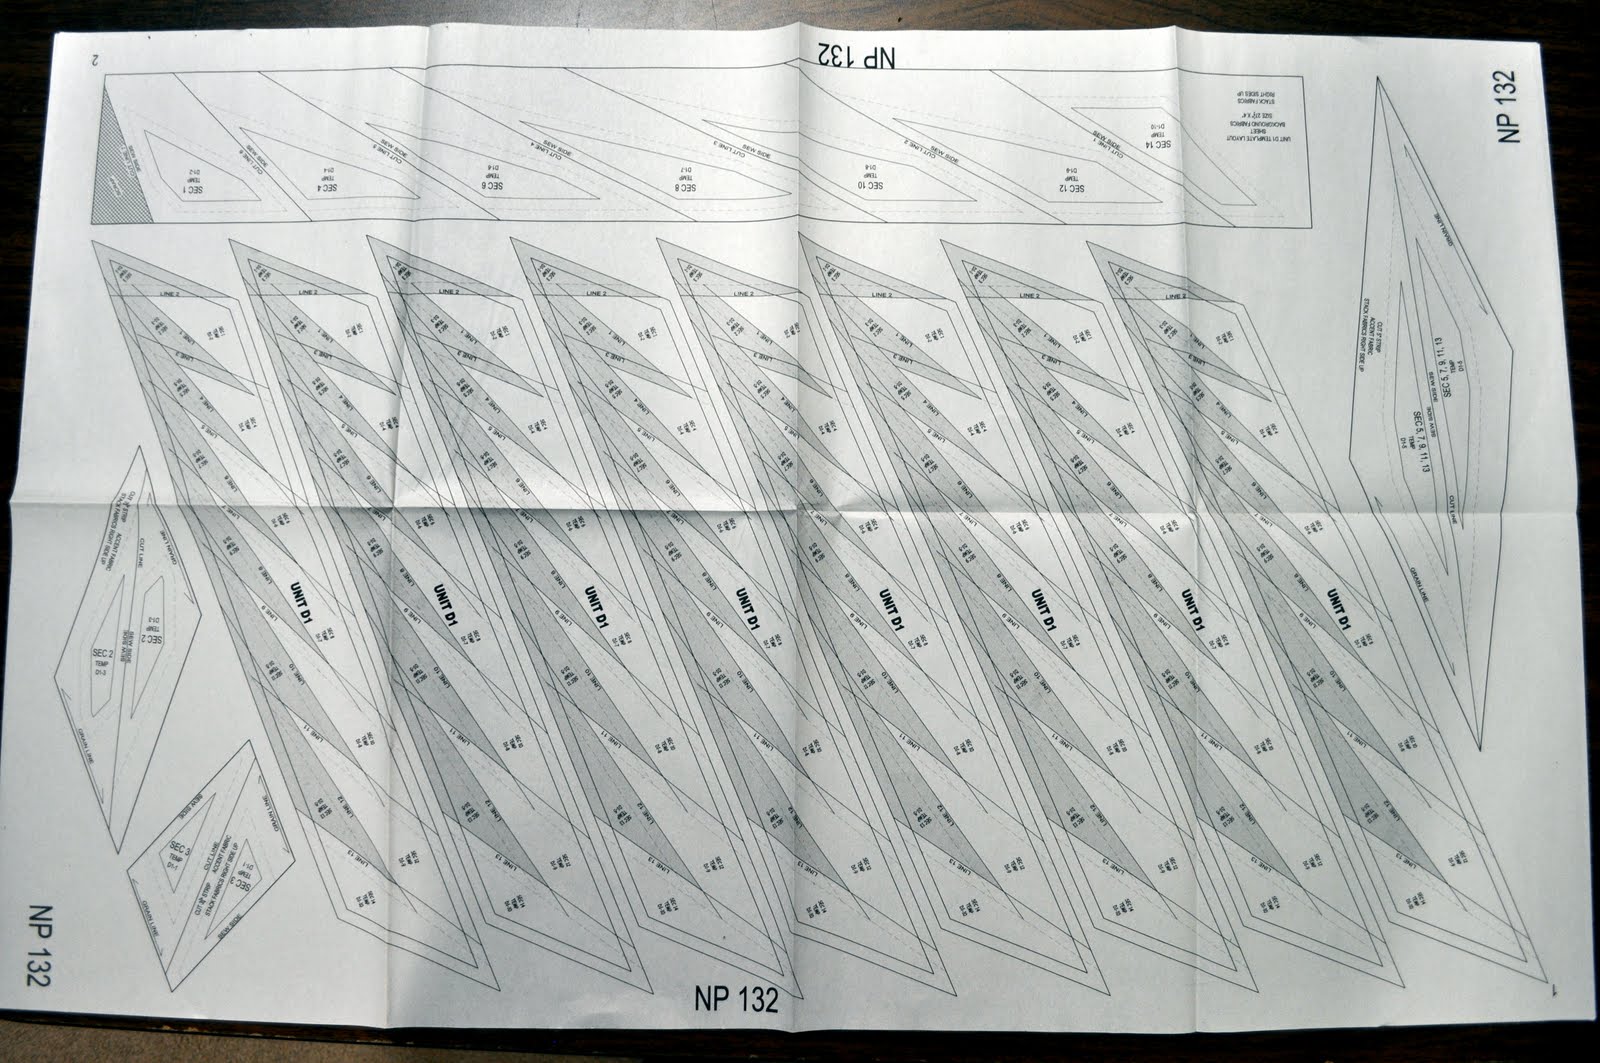

Unit D1

Unit D2

Please Note:
Line 1 is actually in the second section of the pattern.
Notice the green highlighted section

Unit D1 and Unit D2

Follow the Pattern Instructions and
Bag up your patterns and fabrics

The baggies will help keep your organized

Unit D1
Back Side

Unit D1
Front Side

Please Note the paper patterns are shaded.
This will help you with fabric placement

Certified Instructor: Jan Bressler
is ready to begin class...

We begin with the contents of Bag 1

Unit D1
Fold all of the papers on Line 1

D1-2 Sec 1
Your First Fabric

Apply a glue stick to the back side of the folded over pattern

Apply the glue side to the back of your first (background) fabric

Your second fabric is D-3 Sec 2
This will create those long dark points

Place the first fabric face down onto the second fabric
with right sides together

Assembly Line Fashion...
Line up all of your pattern papers and fabrics
This will keep you organized
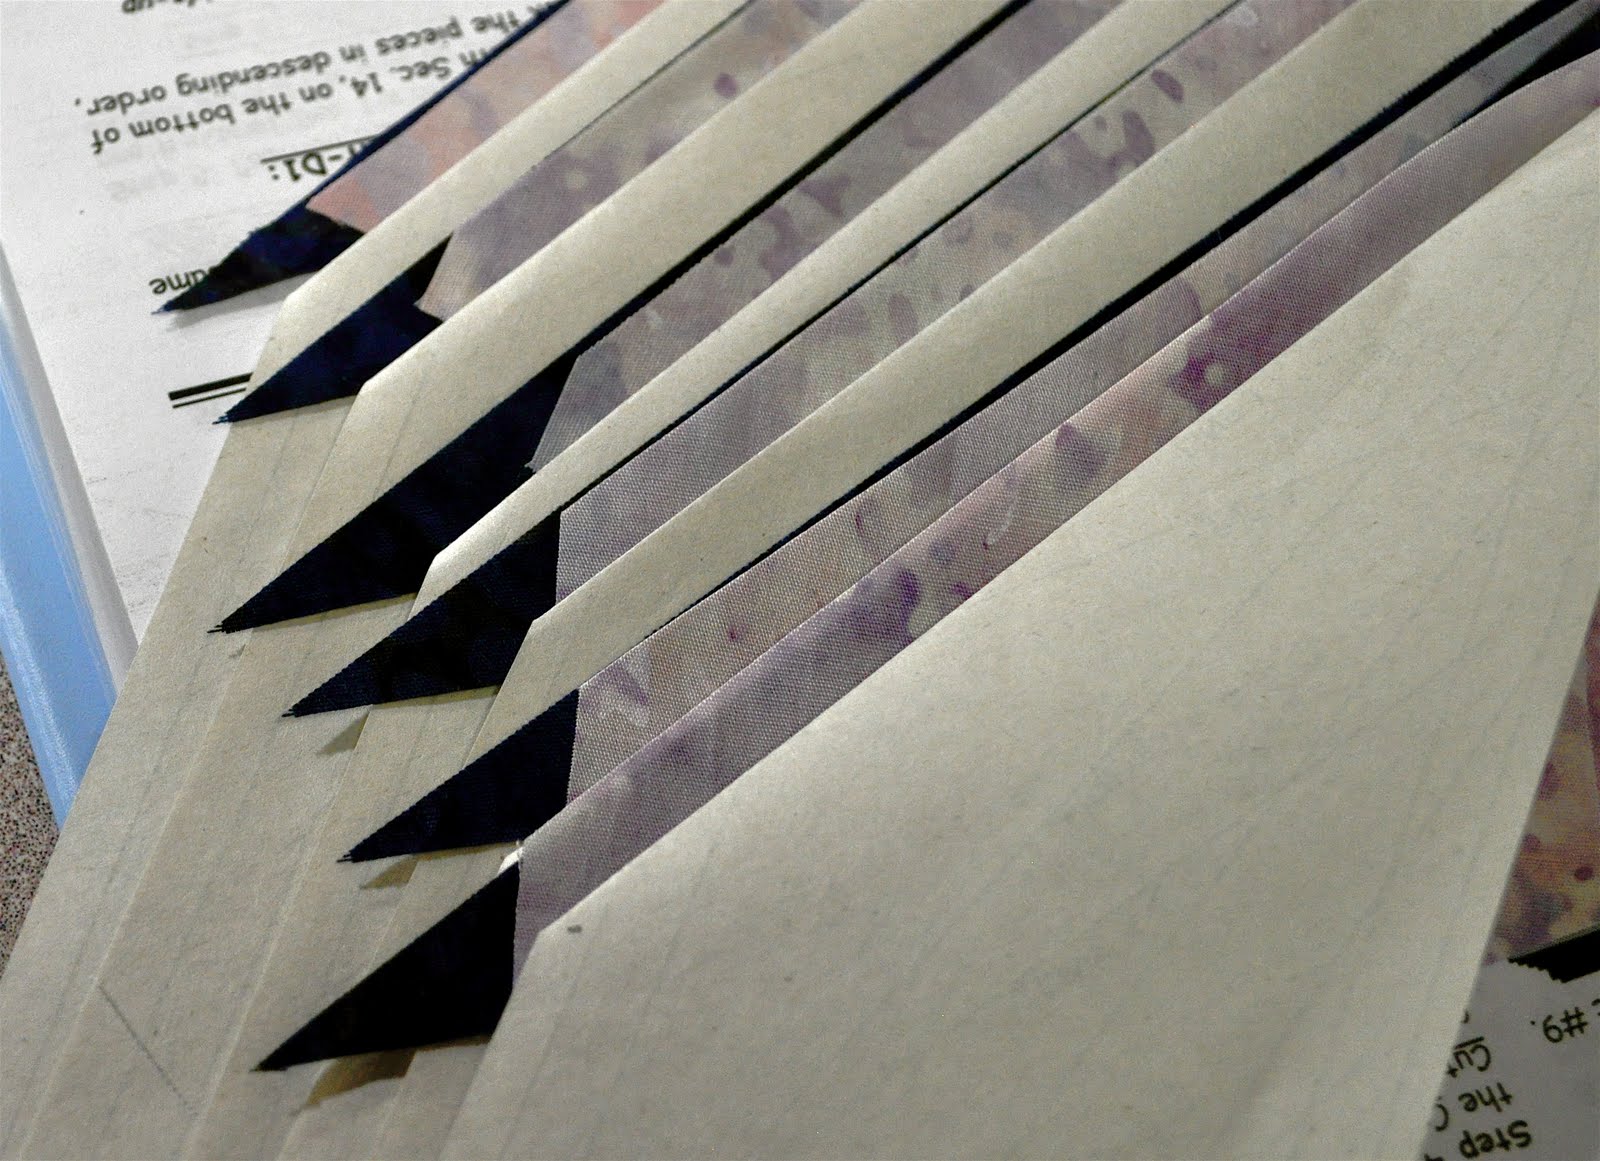
For proper placement of fabric on the paper patterns,
be sure to allow the second fabric to stick out
on the left side of the papers

Begin sewing on Line 1

Feed the units through one right after the other
assembly line style

Snip all of the units apart
Press the seam you just sewed to one side

Fold on Line 2

Using your Add-a-Quarter Ruler
Trim off the excess

Your next fabric will be D-1 Sec 3

Sew on Line 2
Press the seam to one side

This is what your unit will look like after the first 2 seams
have been sewn
Proceed as usual and piece both D1 and D2 Units completely

Unit D1
Completed
Placement for D1 and D2 Units:

Piece the D1 and D2 Units
onto the Lone Star end of this larger unit.
Bring ALL of your completed units to class
Saturday, June 25, 2011
10:00
JanniLou Creations
Philomath, Oregon
No comments:
Post a Comment