April
Technique of the Month
Glacier Star
"We're pleased to offer the Judy Niemeyer Technique of the month program. This is available through Certified Shops only. If you missed out on April's Technique of the Month lecture, or if you need a review, here is what was covered in class..."
Click Images to Enlarge:

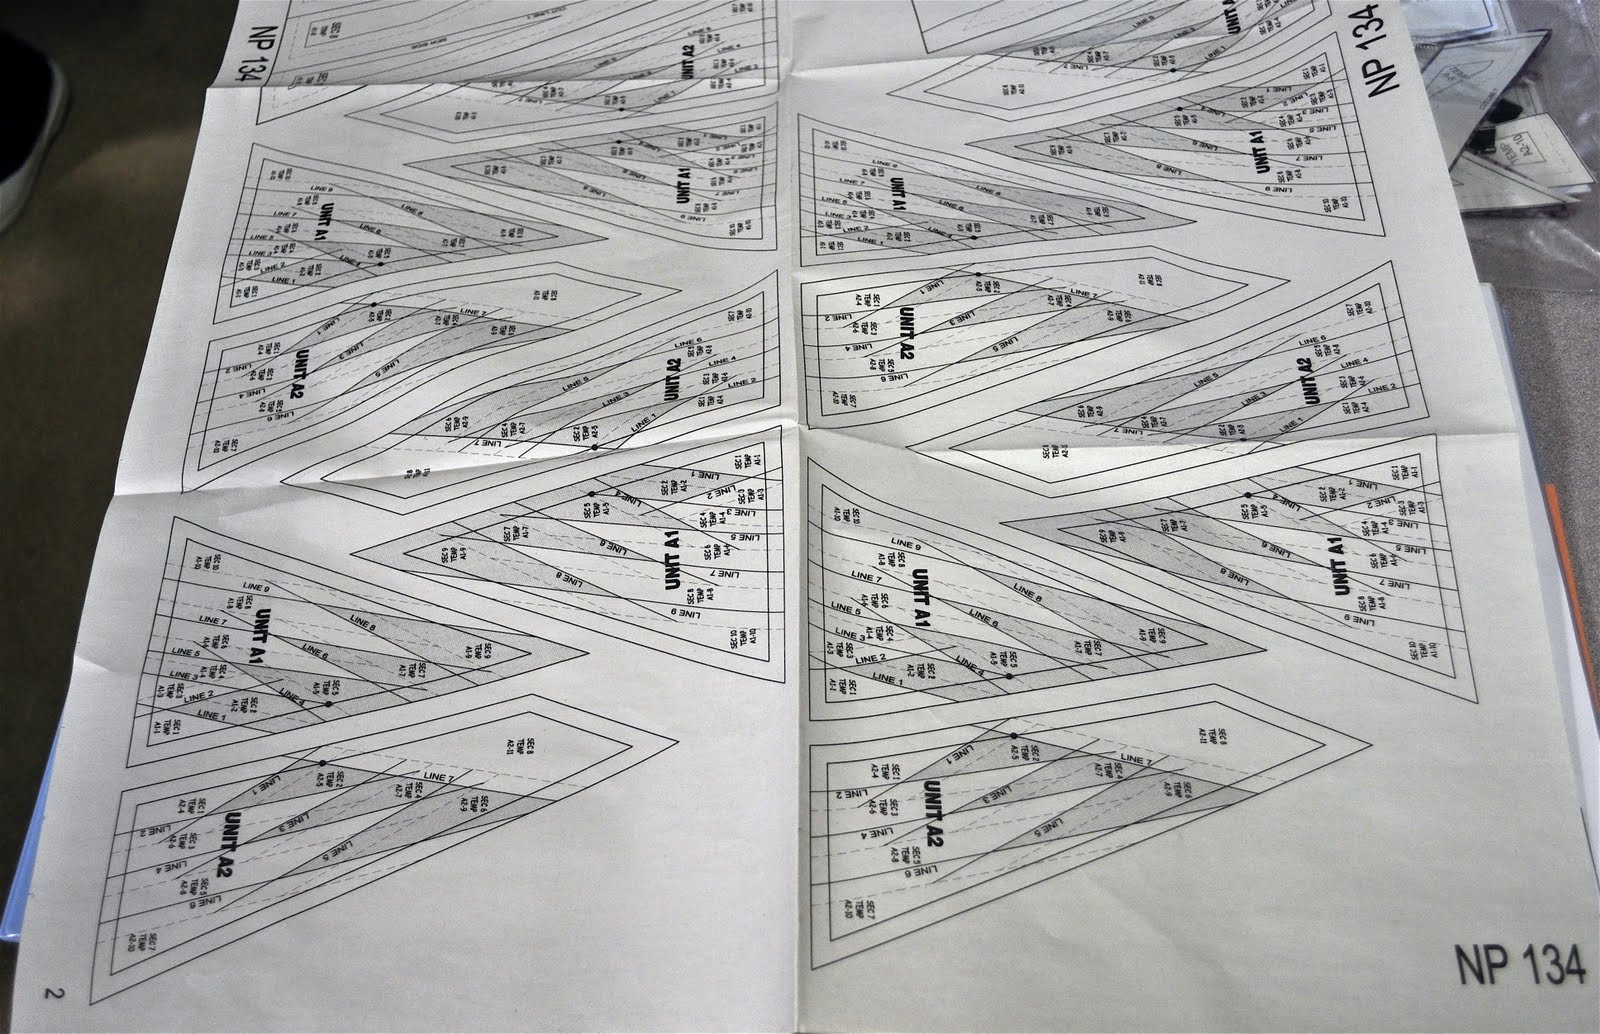
Glacier Star Pattern
Technique 4

We will create this Snowflake Unit today

Read through these excellent instructions
before you begin piecing.
Cut out all of your A1 and A2 Paper Units

Please Note:
The shading on the units will assist you with fabric placement.

The A1 and A2 Units
create the Snowflake center of the quilt
Before you begin here is a design option:

You may choose to design your snowflake with a different color on the tips of the points...
Like the purple diamond shaped tip above.

Shade with a marker on your A1 Paper pattern
to remind you that this section is a different color.

Also shade with a marker on your
Template Cutting sheet
to remind you this is a different color when you cut your fabrics.

Follow the instructions for cutting your fabrics.
Tip:

The templates are marked with "sew side"
This is helpful for lining up your fabrics when piecing.
To help you stay organized,
follow instructions and place your templates in baggies:

Bag 1

Bag 2

Begin piecing from Bag 1
You will need A1 Unit Paper Patterns

Fold your papers on Line 1

Begin with fabrics from the A1-1 Template
This will be your background fabric

Place the folded paper section
onto the back side of the background fabric
(a dab of glue helps hold it in place)

Your next fabric is from Template A-2
This will be a snowflake fabric

Be sure the tip of the snowflake fabric hangs out beyond the left side of the paper.
This will assure proper coverage of fabric on the paper.

Place the background fabric and paper pattern down onto the right side of the snowflake fabric.

Stack all of the units to help stay organized.

At this point you are ready to sew your first seam...

Sew on Line 1

Chain piece the units
After all of the units have been sewn on Line 1:

Snip them apart

Press the seam on each unit
You are now ready to add the next fabric:

Fold on Line 2

Use your add-a-quarter ruler

Trim off the excess
You are now ready to add your next fabric:

Fabric A1-3
This will be your background fabric

Placed the trimmed A-1 Unit on top of your A1-3 fabric.
A1-3 fabric is facing up toward you.

Continue to stack your units to stay organized
You are now ready to sew Line 2:

Piece on Line 2

Stop at the end of Line 2.
Do not stitch to the bottom of the paper,
only to the end of Line 2.

Continue Chain Piecing the A1 Units

Chain piecing helps use your time for efficiently
You are now ready to add the next fabric:

Template A1-4 Snowflake Fabric

Fold on Line 3

Trim the seam allowance
Place the A1 Unit on the snowflake fabric A1-4:

Stack up the units
Please Note:

The background fabric must hang out on the left side of the paper.
This will assure proper fabric coverage on the pattern.
After you have completed the piecing of Unit A1
Continue on and piece Unit A2
This is what the completed Units will look like:

Unit A1 and Unit A2

You are now ready to piece Unit A1 to Unit A2

Remove the papers from Unit A1
Place Unit A2 on top of Unit A1:

Leave a quarter inch of Unit A1 showing under the top right corner.
You can pin your intersections.
(this was demonstrated last month in technique 3)

Piece the units together on the seam line

This is what your pieced units will look like on the back side

This is what your pieced units look like on the front side

Admire those beautiful points...

You can now piece your Snowflake Unit
to the flying geese and lone star units.
You have completed this month's technique.
See you next month for Technique 5
Saturday, May 28, 2011
10:00 am
This Tutorial Courtesy of
Jan Bressler
Certified Quiltworx Instructor
CLICK HERE to view TOM Glacier Star 1
CLICK HERE to view TOM Glacier Star 2
CLICK HERE to view TOM Glacier Star 3